
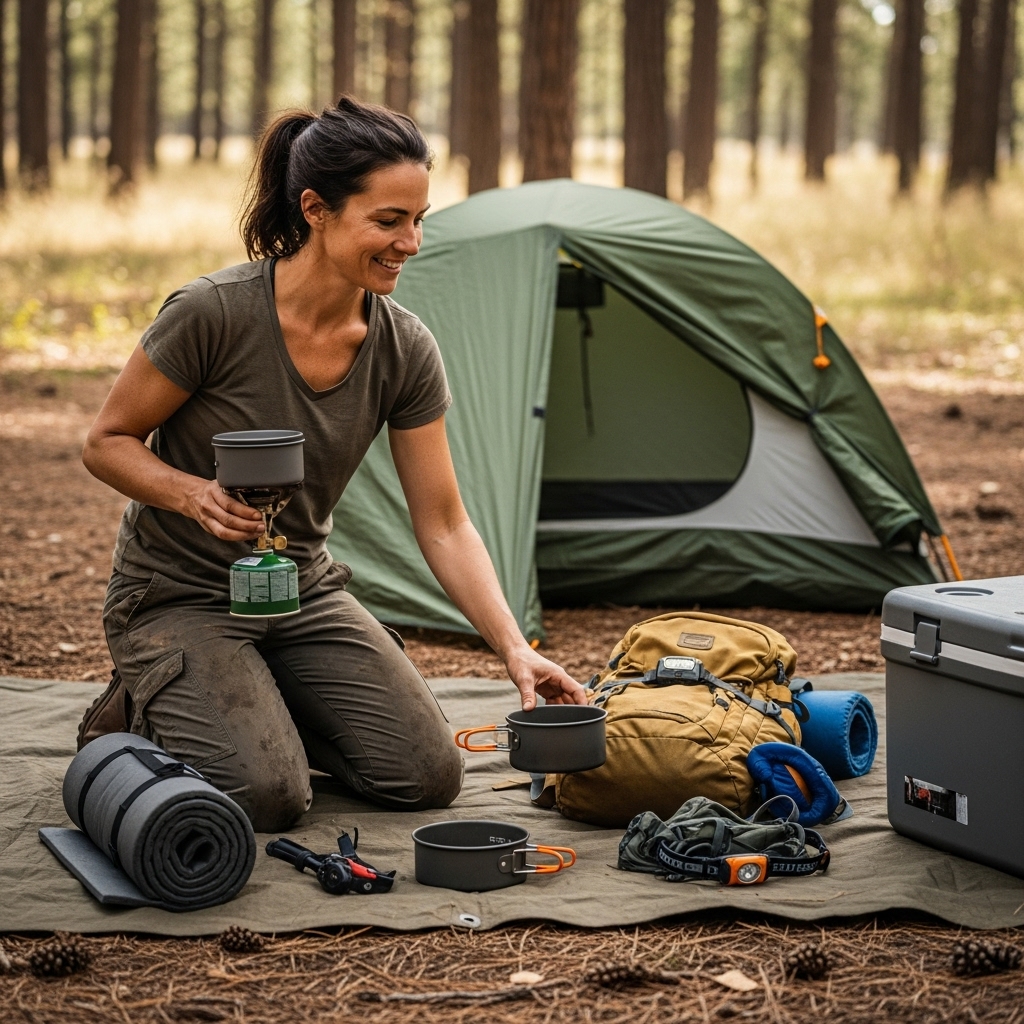

Pitching shelter under unpredictable skies often demands an extra layer of defense against driving rain, intense sun, and falling woodland debris. While modern shelters offer built-in weather protection, mastering how to set up a tarp over a tent provides an elevated barrier that shields fabric seams from relentless saturation. An overhead canopy deflects water before it touches your rainfly, expanding usable living space and creating a dry porch for muddy boots. Campers who pair their shelters with properly suspended tarps avoid the claustrophobia of being trapped inside during prolonged storms. Setting up this configuration correctly ensures you stay dry while preserving vital airflow throughout your campsite.
Achieving a secure setup requires balancing taut guy lines, strong anchor points, and sufficient clearance between fabrics. Even high-grade weather-resistant camping tents can suffer from interior condensation if an overhead cover rests directly on top of the rainfly. Understanding how to set up a tarp over a tent allows you to engineer a reliable pitch that sheds wind without pooling stagnant water overhead. The right rigging technique transforms a basic campsite into a storm-resilient haven that keeps gear dry from top to bottom.

Practical Guide to Rigging an Overhead Tarp Above Your Tent
Suspending an auxiliary canopy over a camping shelter creates an active weather barrier that prolongs the lifespan of your tent fabric. This setup deflects direct ultraviolet rays, prevents tree resin from sticking to rainflies, and redirects heavy rainfall before seams experience water pressure. Learning the mechanical principles behind this pitch will keep your camp dry and structurally sound during severe weather.
Primary Weather Benefits of an Overhead Tarp
Heavy rain can eventually overwhelm even factory-sealed rainflies during prolonged multi-day storms. Pitching an overhead tarp creates a protective buffer zone, meaning driving rain never strikes the main shelter with direct force. This outer shield absorbs the kinetic impact of large raindrops, keeping the fabric beneath quieter and considerably drier. Campers who spend extended periods outdoors rely on this tactic to prevent saturation and reduce wear on sensitive waterproof coatings.
Sun exposure presents another quiet threat to camping equipment over long summer weekends. Prolonged ultraviolet exposure degrades synthetic tent fabrics, making rainflies brittle and susceptible to micro-tears over time. An overhead tarp absorbs the harshest solar rays, preserving the primary shelter fabric while significantly lowering interior temperatures. In hot climates, this additional shade layer makes the difference between an unlivable sauna and a comfortable resting space.
Living space increases dramatically when a tarp extends beyond the entrance of your sleeping quarters. Campers can store muddy packs, hang wet rain jackets, and step outside their sleeping quarters without exposing the interior floor to pouring rain. For family trips and group outings in spacious outdoor tents, this extended awning functions as an outdoor mudroom. You gain a sheltered staging ground where everyone can change footwear and organize provisions without crowding interior sleeping pads.
Essential Cordage, Stakes, and Tarp Materials
A durable tarp forms the core of your overhead shelter system. Campers typically choose between ripstop nylon, silicone-coated polyester, or heavy-duty polyethylene tarps depending on weight and vehicle space. Backpackers prioritize ultralight silnylon sheets with reinforced tie-out loops, while car campers often lean toward heavier canvas or poly tarps for maximum abrasion resistance. Look for tarps equipped with reinforced brass grommets or robust perimeter webbing loops to withstand sustained pulling force.
Cordage selection directly impacts whether your overhead canopy stays taut or sags overnight. Paracord tends to stretch significantly when wet, which causes water to collect in heavy pockets above your sleeping area. Static cords made from braided polyester, Dyneema, or reflective guy lines provide minimal stretch under tension and ensure consistent geometry. Carrying at least fifty feet of main ridgeline cord alongside multiple ten-foot perimeter tie-outs gives you sufficient versatility for varied campsites.
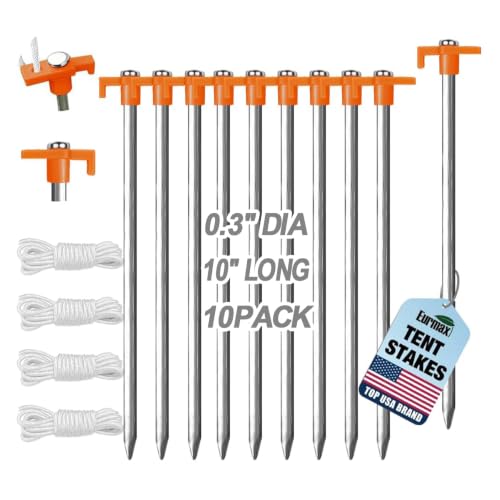
Ground stakes and support poles complete the rigging kit when natural anchor points are sparse. Sturdy aluminum Y-stakes or steel pegs anchor guy lines firmly into soil, clay, or rocky turf. If mature trees are spaced too far apart, adjustable aluminum tarp poles allow you to elevate corners or center points manually. Having a mix of tensioning hardware, such as plastic cord sliders or Prusik loops, makes continuous micro-adjustments quick and effortless.
Site Selection, Wind Direction, and Tree Anchors
Camp layout determines the ultimate success of your overhead pitch before you tie a single knot. Begin by identifying prevailing wind patterns and scanning the immediate tree canopy for hazardous dead branches. Avoid pitching beneath unhealthy trees or large limbs that could fall during high winds or rain saturation. Positioning your tarp with the lowest edge facing incoming wind helps deflect gusts smoothly over your sleeping quarters.
Healthy mature trees provide the most solid anchors for suspending an elevated ridgeline cord. Look for two sturdy trunks positioned approximately fifteen to twenty-five feet apart across your planned tent pad. The line must run high enough to provide ample vertical clearance above the highest peak of your tent. If suitable trees sit at awkward angles, you can redirect guy lines using trekking poles or freestanding aluminum tarp uprights.
Ground slope also dictates where water will channel once it runs off the overhead tarp edges. Never angle your tarp so that deflected runoff pours directly toward the uphill side of your tent floor. Orient the canopy pitch so that diverted water flows safely down natural landscape gradients away from your gear. Checking the ground contours before driving stakes prevents accidental flooding around the base of your sleeping quarters.
Step-by-Step Central Ridgeline Pitching Method
The central ridgeline method remains the most dependable technique for suspending a tarp over a camping shelter. Start by tying your main static line to the first anchor tree at shoulder height or higher using an adjustable hitch. Walk the cord across the campsite over the area where your tent will sit, pulling the line toward the second anchor tree. Secure the second end using a mechanical advantage knot, such as a trucker’s hitch, to pull the ridgeline completely taut.
Once the main ridgeline forms a rigid horizontal line, unfurl your tarp directly beneath or over the cord. Running the ridgeline under the tarp provides structural support against snow or torrential rain, while running it over prevents fabric abrasion. Attach the two center grommets or loops of the tarp to the ridgeline using movable Prusik loops or small carabiners. Slide the Prusik loops outward toward each tree to pull the tarp flat and centered directly above the tent space.
With the center axis held firm, stake out the four corners of your tarp at steep downward angles. Fasten perimeter guy lines to the corner tie-out points and run them down to ground stakes driven at forty-five-degree angles into the soil. Tension each corner progressively, checking the tarp periodically from different angles to ensure symmetrical balance. A balanced pitch prevents stress from concentrating on any single grommet, keeping the entire shelter stable during shifting gusts.
Pitch your camping shelter directly under the secured canopy only after verifying that the ridgeline is fully tensioned. Building the tarp first allows you to assemble the tent on dry ground, which is especially beneficial when arriving during a downpour. Even modern easy setup tents benefit from an overhead cover already in place, ensuring the inner canopy stays dry while you lock frame poles into position. Confirm that the apex of your tent clears the overhead tarp fabric by several inches to promote continuous ventilation.
A-Frame and Lean-To Configurations for Weather
The classic A-frame configuration is the most reliable all-around geometry for variable camping weather. In this design, the center ridgeline supports the peak while both sides slope downward symmetrically toward the ground. This creates two steep drainage planes that shed water quickly while shielding the tent from sideways rain. The A-frame also creates two open gable ends, allowing cross breezes to enter and exit freely.
When facing directional winds and driving rain from a single quarter, a lean-to pitch offers focused protection. In a lean-to configuration, one side of the tarp is staked low to the ground directly facing the oncoming wind. The opposite side is elevated high over the tent entrance using poles or tree branches to create a broad, welcoming vestibule. This setup acts as a solid windbreak while maintaining expansive views and easy foot traffic on the sheltered side.
A diamond or asymmetrical fly pitch works exceptionally well for compact two-person tents or hammock setups. Suspending a square tarp by opposing diagonal corners creates long, sharp drop angles on the flanks. This orientation requires only two primary anchor points and two ground stakes, making it fast to pitch with minimal cordage. However, diamond pitches provide less perimeter coverage, making them better suited for mild rain rather than sprawling storms.
Preserving Clearance, Airflow, and Ventilation
Trapped moisture inside a tent often stems from improper clearance between the tent body and secondary tarps. When humid warm air exhaled by sleeping campers meets cold, unventilated nylon, moisture condenses along the inner walls. If an overhead tarp rests directly against the tent rainfly, it suffocates upper roof vents and traps humid air beneath both layers. Maintaining a vertical gap of at least six to twelve inches between the fabrics ensures air circulates freely.
Air circulation between the two fabric canopies actively pulls damp air away from the shelter through chimney-effect convection. As breezes flow between the tarp and the tent apex, they whisk away the humid vapor rising through upper mesh ceiling panels. This thermal separation also prevents ambient morning dew from settling directly on your tent rainfly. Keeping roof vents open while maintaining an elevated tarp ceiling provides the best balance of breathability and weather defense.
Avoid staking tarp perimeter edges completely flush to the turf unless severe gales demand an emergency wind barricade. Leaving an open gap of twelve to eighteen inches along the lower tarp edges permits cool air intake at ground level. This continuous flow prevents stagnant, damp microclimates from forming around your tent vestibules. Adequate air turnover preserves a dry living interior and dramatically shortens morning drying times before packing up camp.
Ground Protection Versus Overhead Canopies
Overhead tarps defend your campsite from top-down weather hazards, but managing moisture beneath your shelter requires an entirely different strategy. Ground moisture, sharp stones, sticks, and abrasive soil can rapidly degrade tent floors without a dedicated protective ground barrier. While some campers attempt to use generic oversized blue tarps under their tents, loose ground tarps frequently funnel water inward. Understanding how overhead covers complement ground footprints keeps every facet of your campsite protected.
Purpose-built ground accessories, such as the CORE Outdoor Tent Footprints, illustrate how specialized ground covers function under shelters. Designed to fit shelters like the CORE 10×10 Instant Screen House, this footprint provides an extra layer of protection against water, tears, sharp rocks, insects, and rising moisture. Featuring elastic loops on all four corners for quick and secure staking, it packs down to a compact 13 by 10 by 3 inches for simple transport. Unlike bulky overhead sheets, dedicated footprints match specific floor dimensions so they do not channel runoff water beneath the tent floor.
The golden rule of ground cloth placement is keeping perimeter dimensions slightly smaller than the tent floor itself. When a ground sheet extends past the tent walls, rainwater falling from the sky or dripping from an overhead tarp collects on the exposed edges. That standing water pools directly beneath the floor fabric, eventually forcing dampness through floor seams under camper body weight. Pair your elevated overhead tarp with a properly sized footprint tucked beneath the tent perimeter to ensure complete protection.
Preventing Sagging Lines, Pooling Water, and Wind Stress
Wind forces place substantial strain on elevated tarps because wide fabric sheets act like sails when gusts strike underneath. If a tarp is pitched flat without adequate angle, gusts can lift the center line or rip grommets out of their seams. Prevent wind capture by keeping the windward edge anchored low and angling guy lines outward at forty-five-degree angles. Staking down the prevailing side tightly allows incoming gusts to glide harmlessly over the canopy rather than billowing beneath it.
Water pooling presents an equally dangerous threat that can collapse structural poles or tear tarp webbing loops in heavy downpours. A completely flat pitch will inevitably collect water in low depressions, forming heavy water sacks that stretch synthetic fabrics beyond recovery. Always incorporate a deliberate slope across the entire tarp surface so every falling drop travels naturally toward designated runoff channels. Adding a center pole extension or pulling perimeter tie-outs downward creates crisp valleys that shed rainwater continuously.
Tying cordage with adjustable hitches allows campers to correct line sag as moisture levels shift during the night. Synthetic ropes and tarp fabrics naturally stretch under prolonged dampness, causing the ridgeline to drop toward the tent rainfly. Using the trucker’s hitch on main anchor lines and taut-line hitches on ground ties makes tension adjustments fast and simple. Walking the perimeter to snug each line before resting ensures the structure stays secure through shifting overnight winds.
Suspension rigging requires patience and attention to basic geometry, but the comfort it provides during unpredictable weather is unmatched. By maintaining proper fabric clearance, angling planes for effective drainage, and pairing elevated coverage with an appropriately sized ground footprint, you create a dry campsite in any environment. Take time to practice your knots, monitor line tension during changing conditions, and enjoy the dependable shelter that a well-pitched tarp delivers.



Write Your Review
No reviews yet. Be the first to share your experience!